How To Develop 3P Connectors
This is an internal developer how-to guide written at my previous workplace to help engineers set up their local environments for the 3P connector development.
Target Audience: Internal integrations engineering teams at a SaaS company. The knowledge of the jargon and the services described is assumed, as the users of this guide would work with them day-to-day.
My contribution: Documented the developer environment setup process from scratch. Made it as skimmable and as click-through as possible when it comes to integrations development.
Challenges: Navigating a disjointed developer experience, extensive research involving multiple stakeholders.
The original document contained a lot of sensitive data that I had to edit out, the names of all services are changed and some sections are omitted completely out of respect to my former employer. The actual images from the guide were also replaced with AI-generated ones.
🛠️ Setup steps 🛠️
The ordering of the steps is intentional, please follow it for the best results, at least when setting up from scratch.
1. Update and launch IHCOS
Make sure you have the latest IHCOS version and no local changes:
$ IHCOS update
Then run the launch command with the correct profile:
$ IHCOS launch -p connectors-profile
This should start IHI, GIC, Service1 and other services you need for development. To see which exact services have been started, you can check the path-to/service-profile.jsonnet file in your IHCOS repo.
2. Enable the necessary feature flags in IHCOS
These are the feature flags needed for connector development:
-
feature_flag1_<connector_name>- to import it with connector SDK -
feature_flag2_<connector_name>- to make it visible in the UI
For example: for an iCollab connector, those would be feature_flag1_icollab and feature_flag2_icollab.
3. Ensure your IHCOS Connector callback URI is allowed in your connector’s Development Application
This can be found in different places depending on a service and developer portal, but should be somewhere around Authentication > Redirect URI configuration menu options or similar.
Here is what it looks like for iCollab-based connectors in iCollab portal:
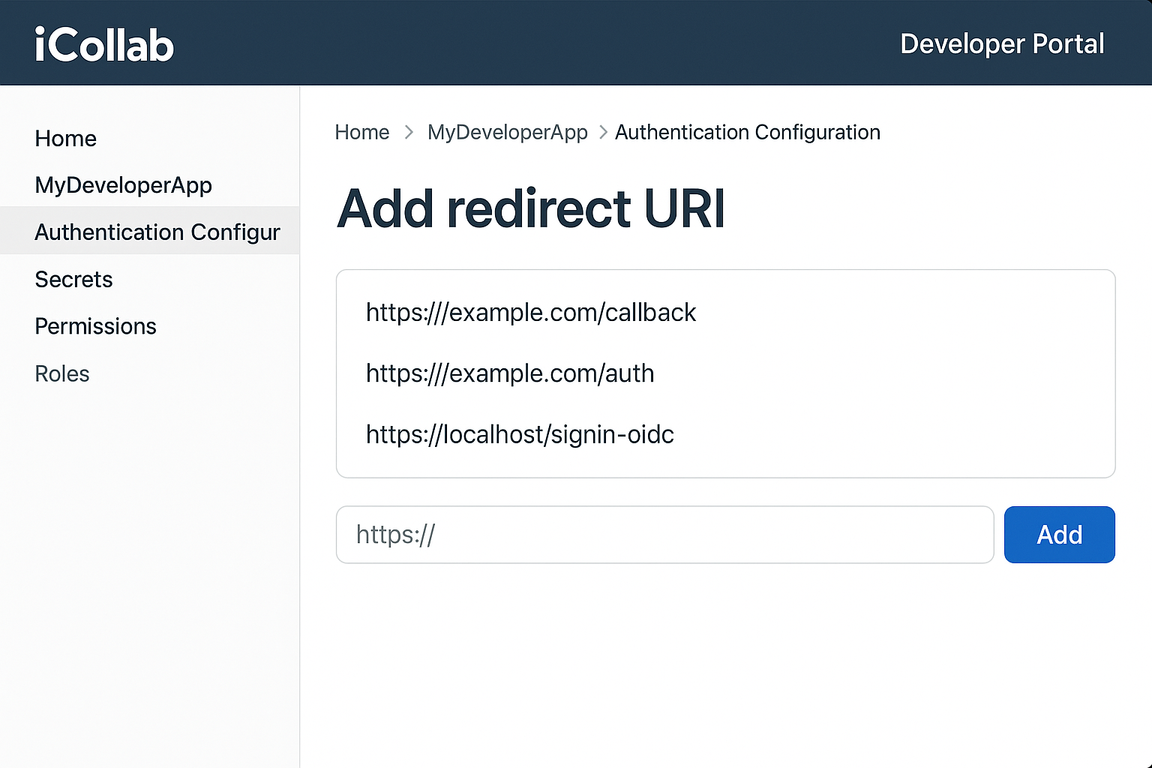
Your IHCOS callback URI would look something like this: https://IHI.uri/example/callback.
4. Create an IHI integration
Steps four to six are omitted from this guide example. They contained so much sensitive information that editing it out would render them meaningless. I promise, they were very nicely written out: code examples, images and everything 😁
7. Run Service0 in dev mode
If you don't have Service0 set up yet, here's a handy setup reference.
In your terminal, in service0 directory, run:
$ service0 run --mode development
This will release your changes into your local Service1: you should see ./path/to/<your-connector> directory appear in Service1 directory once the command runs.
8. Devspace Service1
If you don't have Service1 set up yet, here's a handy setup reference.
In your terminal, in service1 directory, run:
$ devspace dev
This will integrate the changes that the previous step introduced.
😱 Troubleshooting 😱
⚠️ I get errors when running the connect OAuth flow
If you get an error like this during the OAuth flow process:
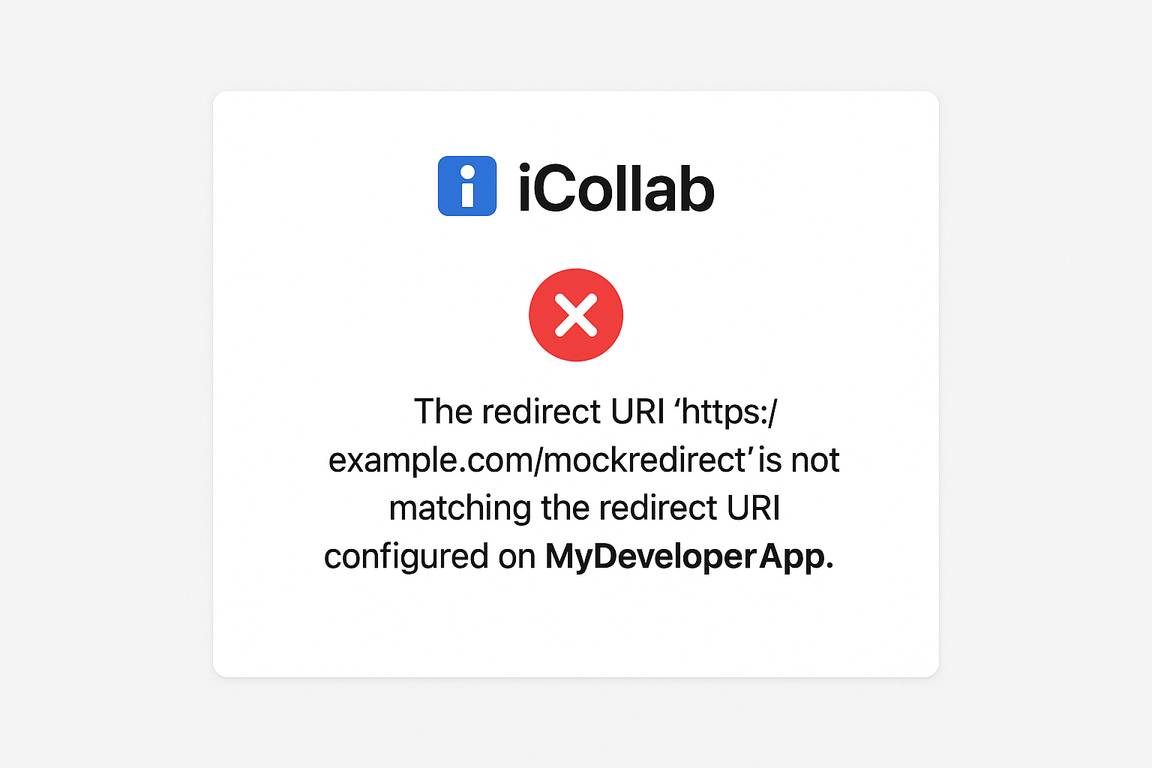
go back to Step 4 and ensure your IHCOS env is allowed for OAuth callback.
⚠️ I don’t see my connector in the UI
The reason for this might be that some very fresh changes were pushed to either Service3 or Service4, and didn't make it to your local environment yet.
Either of these should help:
-
Pull fresh Service3 and Service4 and devspace both. This will sync your local env with the latest version of both services.
-
Or force the connector to show by adding this line:
<Some hacky code>
in Service 3 path/to/file/to-change.js in sampleFunction. This is a dirty way, but it allows your local env to be more independent of whatever happens to Service3 and Service4.